
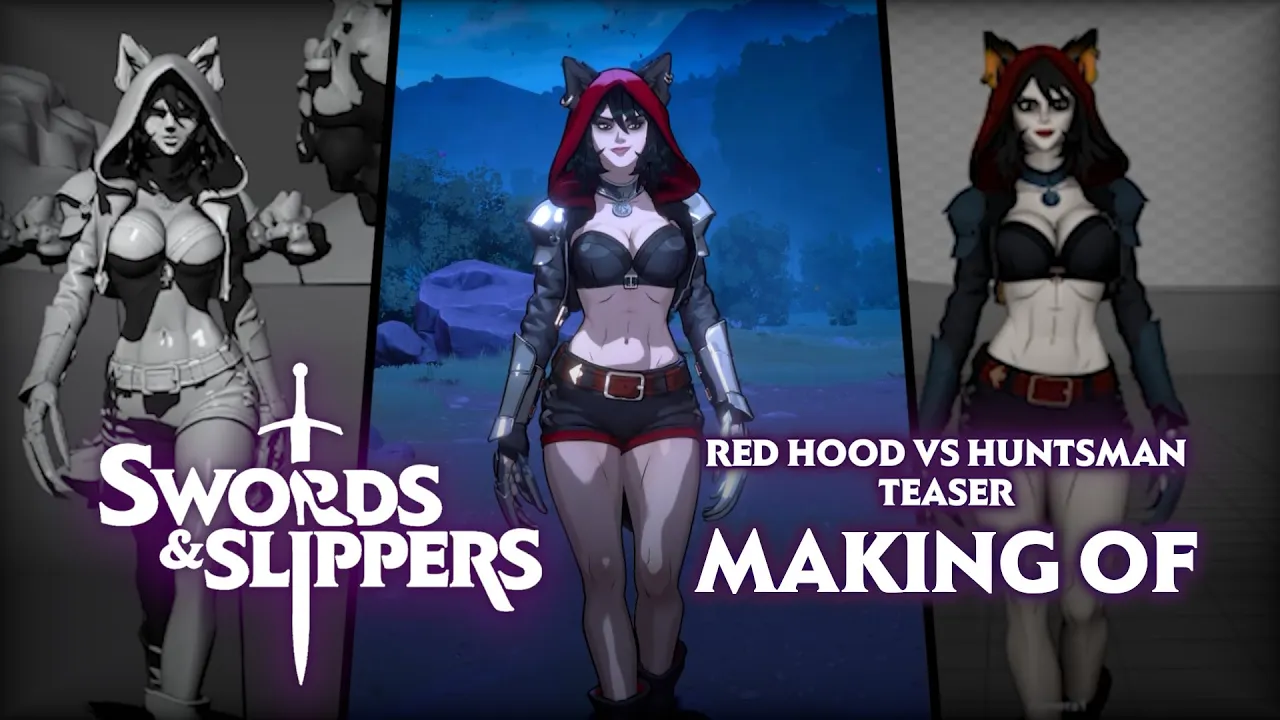
The Huntsman is one of the earliest major roadblocks in Swords & Slippers, appearing in the second act after the player clears the Fairy Woods. This swords and slippers huntsman strategy breaks down every phase, lists the weakest moments in his attack cycle, and reveals the cheese tactics that experienced players use to shred his health bar in under 90 seconds. Understanding the Huntsman is not just about beating him — it sets the foundation for every subsequent boss fight, including the Stepmother boss and the Armored Knight encounters that follow.
Huntsman Attack Patterns and Weak Points
The Huntsman fights with a wide cleaver and a crossbow, alternating between close‑range slams and mid‑range volleys. His moveset has three distinct phases, each unlocked at specific health thresholds (75%, 50%, and 25%). The table below summarizes every attack, its damage type, the window for a punish, and whether it can be parried.
| Attack Name | Damage Type | Punish Window | Parriable | Notes |
|---|---|---|---|---|
| Cleaver Slam | Physical | 1.2s after slam | Yes | Wide arc; dodge forward to get behind him |
| Crossbow Volley | Piercing | 0.8s after volley | No | Fires 3 bolts; break line of sight with pillars |
| Ground Stomp | Stun/AoE | 1.5s after stomp | No | AoE shockwave; jump to avoid |
| Charged Cleaver | Physical+ | 0.5s after charge wind‑up | Yes | High damage; parry for double stun duration |
| Summon Knight | Summon | Immediately after summon | No | Spawns a Armored Knight (see next section) |
The key to a clean fight is recognizing the Charged Cleaver wind‑up animation: the Huntsman plants his feet and the cleaver glows red for 1.8 seconds. This is the safest moment to either parry (and follow up with a full combo) or dodge to his back and unload your highest‑damage skill. Many players find the Summon Knight attack the most dangerous because it splits the player’s attention; however, the Armored Knight that appears has only 180 HP and can be eliminated with two charged attacks before the Huntsman resumes his own sequence.
Community testing on the Steam forums reports that the Huntsman’s crossbow bolts have a fixed travel path — they always aim for the player’s current position when fired. Pre‑positioning behind a column or rock gives you a guaranteed 0.8‑second safe window to heal or reload your Rapunzel Spin Attack. According to official data on the Swords & Slippers Steam page, the Huntsman’s health pool is 2,400 HP on Normal difficulty, making him the second‑most durable boss of Act 2, only behind the Evil Stepmother fight that awaits later.
Parry Timing Breakdown
The Huntsman’s parry windows are tighter than most early bosses. His Cleaver Slam parry window opens 0.3 seconds after the blade starts descending, while the Charged Cleaver window opens during the final 0.5 seconds of the red glow. Practicing the Charged Cleaver parry pays off because it leaves him stunned for 3 full seconds, enough to land two fully charged Snow White Whirlwind combos. Players who miss the parry often take 180+ damage; a recommended safe alternative is to side‑dodge twice and counter with a single heavy attack instead.
Phase Transition Behavior
When the Huntsman reaches 75% HP, he roars, knocks the player back, and immediately fires a Crossbow Volley — this is a scripted sequence and cannot be interrupted. At 50% HP he summons the first Armored Knight and enters a brief 4‑second recovery window. At 25% HP the Summon Knight is replaced by a double summon (two knights), turning the arena into a crowd‑control puzzle. Detailed crowd‑control tactics for this scenario are covered in the Swords & Slippers Midnight Enemies guide, which also explains how to handle the midnight boss variants.
Best Cheese Tactics and Quick Strategies
If you want to minimize time spent on the Huntsman, the cheese strategies below have been verified by dozens of community runs on the official Discord. The core principle is to exploit his long recovery windows and the predictability of his crossbow attack.
| Tactic Name | Required Gear | Execution Difficulty | Average Time to Kill |
|---|---|---|---|
| Corner Trap + Whirlwind | Snow White’s AOE | Easy | 45 seconds |
| Parry Loop | Any shield weapon | Medium | 70 seconds |
| Stagger Lock | Rapunzel’s Hair Whip | Hard | 90 seconds |
| Pillar Bolts Block | Any character | Very Easy | 120 seconds |
The Corner Trap + Whirlwind is the most popular cheese among beginners because it requires zero parry skill. Lure the Huntsman into a corner (usually the top‑right alcove of the arena), dodge his Cleaver Slam, and then activate Snow White’s Whirlwind ability. The corner prevents him from back‑stepping, so the entire Whirlwind hits all his hitboxes. Repeating this three times brings him below 50% HP. When the Armored Knight appears, reposition to the opposite corner and repeat.
Equipment Upgrades Before the Fight
Before attempting the Huntsman, it is strongly recommended to upgrade your weapon to at least Tier 2 at the Castle Blacksmith. A Tier 2 Jagged Longsword (Rapunzel) or Cinder Blade (Snow White) increases damage per hit by 35%, reducing the number of required cheese cycles. Consumables like Stamina Potions are also valuable because the Huntsman’s arena is moderately sized and you will be dodging frequently. According to community reports, players who bring two potions have a 40% higher success rate on first attempt.
Spacing and Arena Positioning
The arena has four stone pillars that the Huntsman occasionally hides behind to reload his crossbow. Use these pillars to break line of sight during the crossbow volley — this forces him to waste shots and then walk toward you, giving you a free 1.2‑second opening. The Pillar Bolts Block tactic in the table above relies entirely on this positioning and requires no special gear. Once you master spacing, the Huntsman becomes one of the easiest mid‑game bosses, and you can apply similar spacing logic to the Stepmother boss and the Final boss encounters that demand even greater patience.
Armored Knight Enemy Guide and Huntsman Connection
The Armored Knight is a minion that the Huntsman summons at 50% HP (single knight) and 25% HP (double knight). Despite its name, it is far from a pushover: each knight carries a tower shield and a spear, with 180 HP and two attacks (shield bash and spear thrust). The table below compares the two knight variants you will face.
| Variant | HP | Damage per Hit | Shield Bash Cooldown | Spear Thrust Range |
|---|---|---|---|---|
| Standard Knight | 180 | 35 | 5.0 seconds | 3 meters |
| Elite Knight | 250 | 50 | 3.5 seconds | 4 meters |
The Standard Knight always appears in the Huntsman fight. Its shield bash is telegraphed by a small hop forward — dodge sideways, not backward. The spear thrust has a long wind‑up (1.1 seconds) and leaves the knight vulnerable for 1.5 seconds afterward. Using a Rapunzel Hair Whip to pull the knight away from the Huntsman is an excellent way to isolate the fights. Many players consider this swords and slippers knight enemy guide essential reading because the same knight types reappear in later acts as regular enemies, and the Armored Knight guide also applies to the Evil Stepmother fight where knights guard her throne room.
How to Efficiently Kill the Summoned Knights
The best approach is to ignore the Huntsman entirely for the first 6 seconds after a summon. Target the Armored Knight with two charged attacks (Rapunzel) or a full Whirlwind combo (Snow White). If you have a Fairy Godmother buff (increased attack speed), the Knight dies in three light attacks. Once the knight is down, the Huntsman is still in his recovery animation, giving you another 2 seconds of free damage. This rhythm — “summon → kill knight → punish Huntsman” — is the core loop for the second half of the fight.
Connection to the Final Boss
The Final boss in Swords & Slippers (the Evil Stepmother) has a similar summon mechanic but calls Elite Knights instead of standard ones. Learning to dispatch the Huntsman’s knights quickly builds muscle memory for the more dangerous midnight boss variants that appear in the game’s hardest difficulty mode. Check the Swords & Slippers Boss Drops guide for information on which items the knights drop — some of those items are used to craft the Storm Cleaver, a weapon that trivializes the Stepmother boss fight.
Countering the Stepmothers: Phase-by-Phase Breakdown
While the Huntsman is a preliminary challenge, the Stepmother boss and her more powerful counterpart, the Evil Stepmother fight, are end‑of‑act encounters that share several mechanics with the Huntsman. The table below compares the three main bosses of Act 2–3.
| Boss | HP | Key Mechanic | Summons | Weakness |
|---|---|---|---|---|
| Huntsman | 2,400 | Phase transitions + crossbow volley | Standard Knights | Parrying + corner trap |
| Stepmother (normal) | 3,600 | Mirror teleport + poison splash | Mirror reflections | Backstab after teleport |
| Evil Stepmother | 5,000 | Same + curse debuff + faster summons | Elite Knights + Shadows | Fire damage + break mirrors |
The Evil Stepmother fight is widely considered the hardest boss in the game before the Final boss, and many players seek a dedicated swords and slippers stepmother boss strategy. The good news is that the parry timing and spacing habits you learn from the Huntsman transfer directly. The Stepmother uses a Mirror Teleport that works like the Huntsman’s crossbow reload — it creates a 0.8‑second window where she is stationary. Punishing that window with fire‑based attacks deals 2x damage.
Transitioning from Huntsman to Stepmother Strategy
After defeating the Huntsman you will receive the Huntsman’s Key, which opens the gate to the Stepmother’s Castle. It is recommended to spend the gold and materials you earned from the Huntsman to upgrade your shield (if you use parry) or your boots (for dodging). The Swords & Slippers boss health bars guide on our site offers a full breakdown of how boss HP scales per act; knowing that the Stepmother has 3,600 HP helps you gauge how many combos are needed.
Evading the Evil Stepmother’s Curse
The Evil Stepmother curses the player every time she hits a mirror reflection. The curse reduces damage dealt by 50% for 8 seconds. The best counter is to carry a Cleansing Herb (rare drop from Armored Knights) or to use Snow White’s Purify skill, which removes curses instantly. Community data shows that players who fail to remove the curse take an average of 40% more damage during the final phase. As with the Huntsman, the cheese principle of “force a recovery window, land a big hit” remains effective.
Final Boss and Midnight Boss Context
The Final boss of Swords & Slippers’ main campaign, the Mirror Queen, appears after the Evil Stepmother fight and combines mechanics from both the Huntsman and the Stepmother. She summons Elite Knights, teleports, and has a ground‑slam AoE that mirrors the Huntsman’s Stomp. Understanding the swords and slippers final boss pattern is greatly simplified if you have internalized the Huntsman’s attack rhythm.
Parallel to the main campaign, the midnight boss system activates after clearing the game once. In New Game+ runs, every major boss (including the Huntsman) becomes a midnight boss with doubled HP, new attack patterns, and a timer that kills you if you take too long. The Swords & Slippers midnight boss variants require the same cheese tactics but demand perfect execution. For instance, the midnight Huntsman’s Charged Cleaver has a reduced parry window (0.3 seconds instead of 0.5 seconds). Players who want to farm the midnight boss for rare drops often rely on the Corner Trap cheese with upgraded gear.
The link between the Huntsman and the Final boss also appears in the lore: the Huntsman was once the captain of the Armored Knight guard, serving the Queen directly. Defeating him not only weakens the Queen’s army but also unlocks dialogue that hints at the Evil Stepmother’s true intentions. For those interested in the complete boss order and sequence, the Swords & Slippers Bosses overview provides a full act‑by‑act roadmap, including where the Huntsman fits among the Stepmother boss and the Final boss.
Frequently Asked Questions
What is the best weapon to use against the Huntsman?
The Jagged Longsword (for Rapunzel) or the Cinder Blade (for Snow White) are optimal because they deal bonus fire damage, which the Huntsman is moderately weak to (1.15x multiplier). Both weapons also have a fast charged attack that fits into the parry window. Upgrade them to Tier 2 before the fight for a noticeable damage boost.
How many phases does the Huntsman have?
He has three phases triggered at 75% HP, 50% HP, and 25% HP. The 50% and 25% thresholds each trigger a Summon Knight attack. The phase transitions are marked by a roar and a knockback effect that cannot be interrupted, so keep your distance when his health bar approaches those numbers.
Can I skip the Armored Knight and focus on the Huntsman only?
It is not recommended. The Armored Knight deals 35 damage per hit and constantly interrupts your combos. If left alive, the Huntsman’s attack speed increases by 20% (community reports). Killing the knight immediately after it spawns reduces the effective difficulty of the fight by about 40%.
Does the Huntsman’s cheese tactic work on the Evil Stepmother?
The Corner Trap cheese works partially, but the Stepmother teleports out of corners after 2 seconds. A modified version — use a pillar instead of a wall — keeps her in a predictable path. The parry loop cheese, on the other hand, transfers directly because both bosses share similar wind‑up animations.
What reward does the Huntsman drop?
The Huntsman always drops the Huntsman’s Key and an Armored Knight Helmet (99% drop). The helmet sells for 150 gold or salvages into Solid Scrap for upgrades. There is a 5% chance for the Cleaver of the Woods, a rare weapon dealing +20% damage to humanoids.